
My Perennial Homestead
We believe in the art of story-telling! To us, it’s what gives our products added value and what makes our lives so full. Here you’ll find stories from our life on a homestead in the Heartland of the US, stories from the farmers and makers we work with, and our dreams and ideas for a full life! We invite you to make yourself a cup of tea and read these posts as if we were talking together by a cozy fire or under the warmth of the summer sun. Share your thoughts in the comments section on each post and start a conversation - we’d love to hear what you’re thinking about too!

Natural Dyeing: Fresh & Wooden Eggs
Springtime brings a little bit of magic in every day - an awakening from a long winter sleep. The ground swells as the buds do too, flowers bursting up from the thawing earth; colors painting the landscape that has been neutral for months.
Celebrating the return of Spring
The celebration of spring takes many forms. One such celebration is Ostara, the pagan celebration of the vernal equinox that has many parallels to the contemporary Easter traditions that many have come to know. The vernal equinox falls somewhere between March 19th and March 23rd depending on the year, when the Sun is exactly above the Equator and day and night are equal in length. The name Ostara is thought to have been derived from the spring goddess named Ēostre, who brings renewal and rebirth after the cold and harsh winter. Amongst the symbols of fertility and rebirth, it is no wonder that the egg has long been used, as it quite literally brings forth new life in the early spring days. On our homestead, we welcome the sounds of baby birds hatching in nests throughout the treed landscape and on homesteads across the country, homesteaders are eager to welcome new baby chicks to their flocks of chickens, ducks and more. It is thought that the Easter basket was inspired by the bird nests - the perfect pair for spring!
When creating decorations in our home, I often find inspiration from the natural world around us. The materials that surround us, both outside and in our homes are full of textures and colors that are impossible to replicate synthetically. Even better, is when a decoration can be reused or composted when we’re done displaying it; it’s the ultimate love note to our natural world when we can enjoy the beauty of nature and respect it throughout, by creating little or no waste. That’s what I love so much about this simple natural dye project for decorating eggs! This method can be used for both fresh eggs and wooden eggs, though there are a few variations that work better than others for the wooden eggs - which we’ll share in further detail below. All of the scraps from the dyeing process can be composted when complete, and if you’re using wooden eggs, they can be enjoyed for many years to come!
Preparing the eggs
While there is very little that needs to be done to prepare wooden eggs, when using fresh hen eggs there are a few more steps to ensure successful dyeing. You can use either white or brown (or any color, really) eggs, though the base color will affect the final color of your dyed eggs.
Choose eggs that are at least 1 week “old” as they will be easier to peel in the long run! This is especially relevant if you’re sourcing your eggs locally, as they tend to be much fresher than store-bought eggs.
For fresh eggs, wash the exterior of the egg with a gentle cloth to remove the natural barrier that exists on the eggshell, which will allow the pigments to better adhere to the eggs.

Clockwise from top left: Red cabbage, yellow onion peel, turmeric, black beans, un-dyed natural egg. All eggs shown have been sealed with our Beeswax Cutting Board Conditioner - available in our shop!
Extracting colors from nature
We can extract a wide range of colors from ingredients that are found in our kitchens! It’s a great way to use up scraps and is especially fun for our youngest helpers. My daughter couldn’t believe her eyes when I pulled a wooden egg from a bath of black bean water and it was purple! Here are some of our favorite colors to use for fresh and wooden hen eggs.
For Fresh Eggs: Place eggs in a small sauce pan and cover with 1 quart of water, 1 tablespoon of salt, 2 tablespoons of vinegar, and 2-4 tablespoons of the respective fruit, vegetable, or spice (to create the color). Bring to a boil, then reduce to simmer and cover for 30 minutes. For a deeper color, leave eggs in dye bath and allow to set for 30 minutes or more. Remove and allow to dry - we use our empty egg carton as a perfect drying rack!
For Wooden Eggs: Place 1 quart of water and 2-4 tablespoons of the respective fruit, vegetable, or spice (to create the color) in a small sauce pan. Bring to a boil, then reduce to simmer and cover for 30 minutes. Remove from heat and strain liquid into a heat-proof jar, reserving the plant materials. Because wood floats in water, use either the food scraps from making the dye bath to keep the egg submerged or allow the egg to float and simply rotate the egg periodically until the desired color is achieved. After soaking in the dye pigment, allow wooden eggs to dry slowly to avoid cracking; We used our egg carton as a drying rack and put them in a spot out of direct heat or air flow, and they took about 2 days (with periodic rotating) to dry completely. Note: the color will lighten as it dries, but can be made more vivid by using a mineral oil or a cutting-board wax on the wood once it’s dried!
Now for the fun part:
Reds - Red or purple onion skins make a beautiful red dye pigment.
Orange - Yellow onion skins yield a bright golden orange color.
Yellows & Gold - Turmeric! The easiest dye of all for eggs - and a little goes a long ways.
Greens - This is arguably the hardest color we tried to achieve. While many sources suggest parsley or spinach for dyeing green eggs, we didn’t have any success. I would instead recommend a double-dye starting with turmeric and followed by the red cabbage dye bath below (without vinegar).
Blues & Purples - Red cabbage can be used to create a range of blues and purples. Without vinegar, the color is more blueish purple. With vinegar added, a bright fuchsia! For wooden eggs, black beans can be used to create a nice blueish purple too - simply soak a handful of beans in a pint of water over night, then place your wooden egg in the dye bath and allow it to soak for about 30 minutes.
Share the love!
If you’re on social media, be sure to tag your photos with #MyPerennialHomestead - we would love to see what colors you create. Want to learn more about natural egg dyeing? Join us on Saturday, March 13th, 2021 with Lesley Darling Fibers for a virtual workshop on natural egg dyeing! The workshop will also be recorded and shared after - to register, visit: https://lesleydarling.bigcartel.com/easter-egg-dyeing-workshop

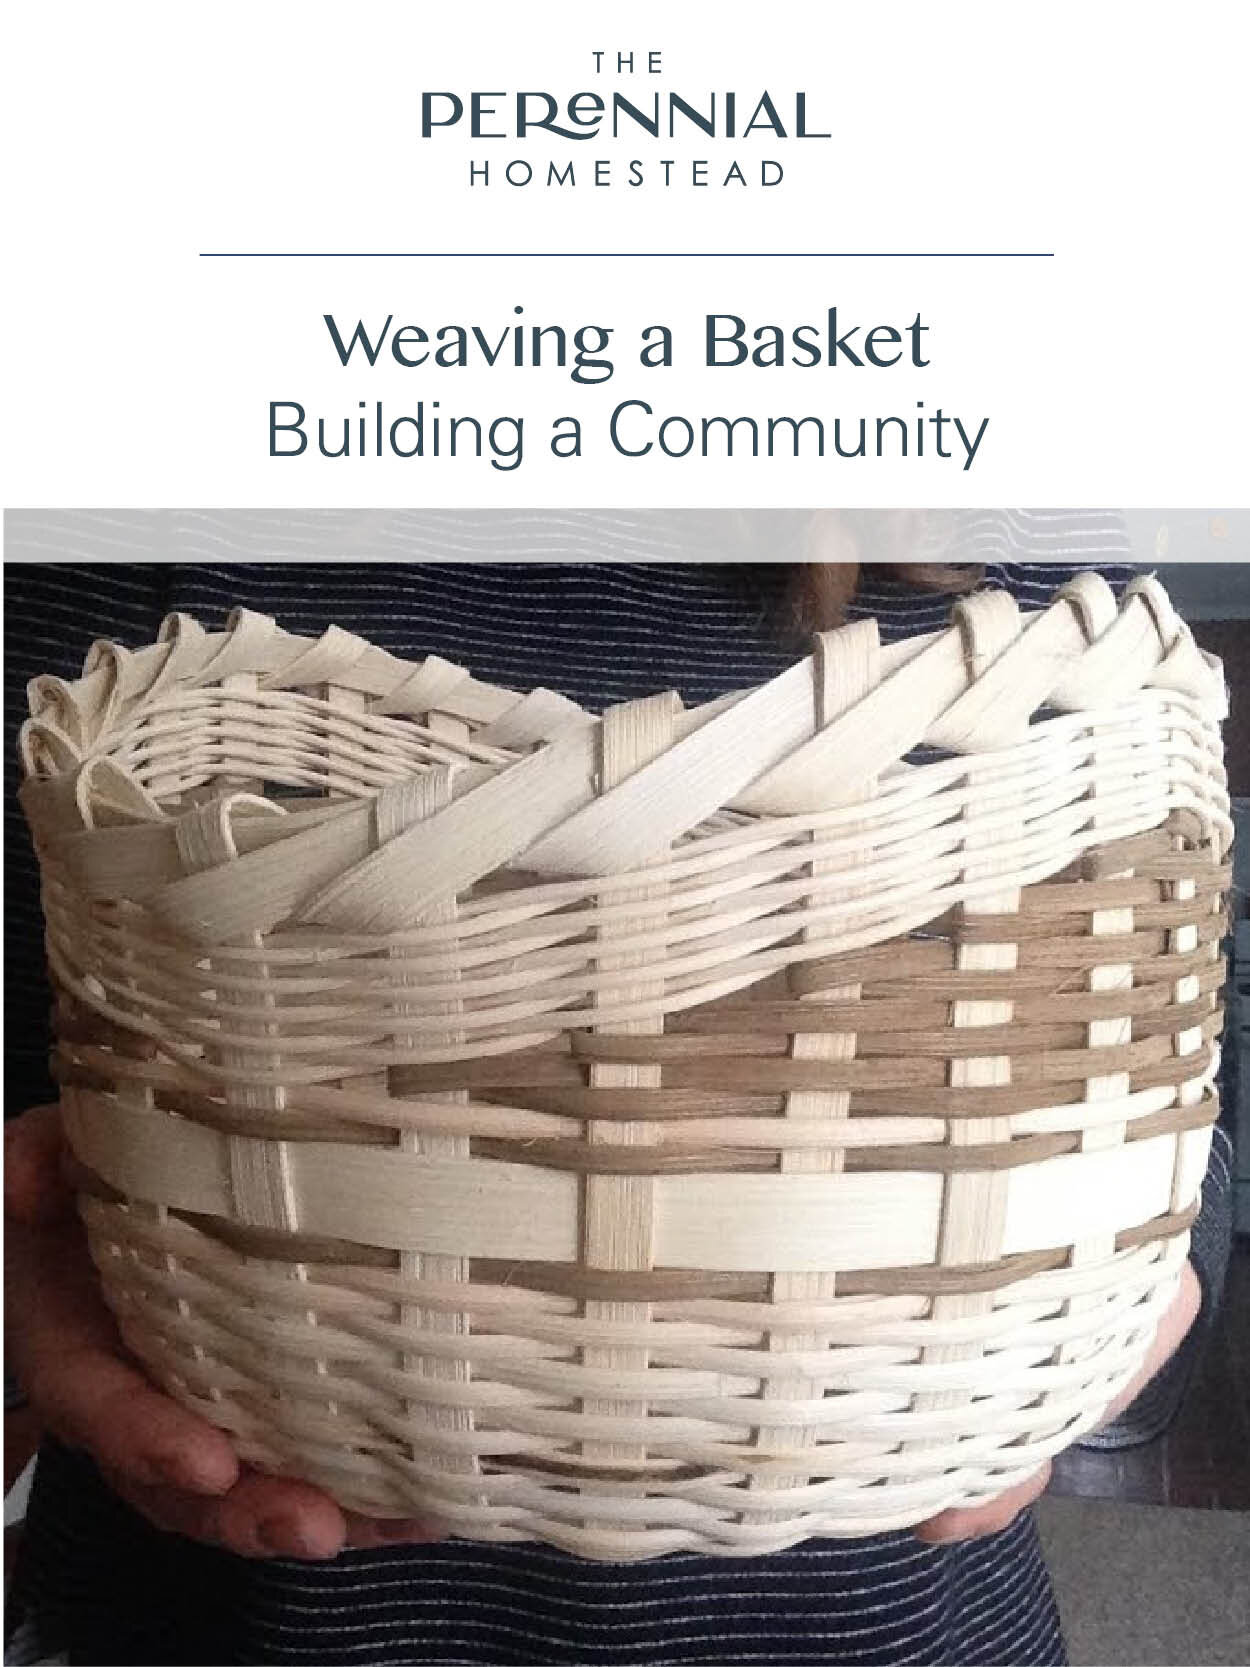
Weaving a Basket, Building a Community
One of my new year’s resolution for 2020 is to learn more skills: skills with my hands, making things and learning from others. In a day when you can find almost anything on Youtube or order quickly on Amazon, I fear the loss of these skills and shared learning. I mourn the loss of the communities that are rooted in this type of exchange - one where skills are shared freely and competition doesn’t exist. Communities like those of people gathered around a quilt to finish the stitches together, not motivated by a paycheck or an exchange other than one of stories, friendship and love. Where the sharing of skills is done with the desire to preserve the traditions from generation to generation - not because you have to, but because you want to. Luckily, if you look for it, there are people who are still drawn to teach and share their skills and I imagine I’m not the only one who is eager to learn.
This past Saturday, I had the pleasure of learning about basket weaving. The class was being taught at our local botanical gardens. Tucked in a back classroom, myself and 9 classmates gathered to learn the art of basket weaving from Jeannie, our instructor, and Roxy, her assistant. Together, they’ve been making baskets for over a decade and have been teaching for almost as long. When I asked Roxy what drew her to basket weaving in the first place, she talked of the satisfaction of gathering with friends and making something with her hands, “instant gratification” as they’d finish a basket in a matter of hours. Compared to the instant gratification of just about everything these days, I’d say this is relative, but I know exactly what she meant. It is so gratifying to make something with your hands, in this case a basket, that is usable right away!

Building a strong base with wood & reed
The class was comprised of a variety of learners - some experienced basket weavers and some, like myself, new to the skill. I sat next to a woman who quickly became a new friend. We spent the four hours of our class talking about our gardens and natural dye projects, all while weaving a set of simple reeds into a basket fit to hold fruit. We shared so much in common, including friends, and yet it was the shared desire to learn new skills that brought us together.
The process of basket weaving is simple. Over, under, over, under: wrapping “weavers” over and under the spokes of the basket. Each pass adds structure and shape, style and color. We wove with prepared materials, but I couldn’t help but imagine of all the materials that grow around our home that would make a perfect spoke or a perfect weaver. I imagined the possibilities that I have never noticed before.
I’ve never had to notice, because we live in a world where the things we “need” are constantly available. Baskets are abundant in nearly every store, in any color, shape or size. They’re cheap and trendy. But what is the true cost? I imagine a time when people made baskets out of necessity. Where they spent time observing the natural materials growing around them. Where they attuned themselves to the materials in an effort to select only what was needed and the best for the end function. I imagine people gathered together, weaving over and under, over and under. Older hands guiding young hands, sharing skills and traditions. Making baskets worth saving, woven with stories and love. Baskets that aren’t discarded quickly for the next trend.

Adding variety and color, shape and style with naturally colored reeds
Basket weaving has a long and very rich history - with unique traditions and materials used by different communities of peoples throughout the world and throughout time. Neither am I an expert nor a historian, so I will leave you to your own research to discover the history of basket weaving. Check out a few books at the library! This is where I started learning and I couldn’t believe the amount of variations in styles, materials, uses and traditions that existed in basket weaving, especially when the craft hasn’t been part of my upbringing. It is part of what further drew me to the craft and inspires me to keep learning, from different teachers and communities. What I can tell you is that the basket I made was constructed of reeds, and is known as a “wicker” or “splint” basket. It has been a style of basketry in many countries and cultures throughout history.
What will it take to return to the times of making together and sharing skills? Perhaps it’s not as romantic as I imagine, but certainly there are aspects that are worth preserving. As I navigate the future of our business, I have such a strong desire to weave in aspects of learning and teaching - through workshops hosted here on our farmstead, by stocking goods made by artisans who are dedicated to preserving traditional skills, and by learning new skills myself to deepen the appreciation I have for those goods that are made with care.
When I brought my finished basket home, I felt a deep satisfaction that resonated through my body. The basket I made will likely stay in our family for many years to come. As I feel the texture of each reed, I already feel a rush of nostalgia as I remember the process of making it, with a sense of gratitude to the materials used to make it and the teachers who showed me the way. Sure, I probably could have watched a tutorial online, but then I wouldn’t have met my classmates or our teachers. I wouldn’t have had the company of others as I learned this new skill and I’m not sure the basket I made would have had as much of a story to tell.
I hope to make many more baskets and will likely do so in a variety of settings. I thank the many makers who have come before me and shared their skills, so that I may now learn the craft. I am so grateful for the physical space I had to learn a new skill in the company of others. And I look forward to many years of learning new skills from and with others, weaving together a new community each day through the exchanges of teaching and learning from one another. In my own personal exploration of this (and other) crafts, I set my intentions to honor those who’ve come before me, the materials that are harvested and used, and those who have yet to come - may my learning and curiosity be received as a thank you for the many gifts you have given!